
Intro
Having bought my raspberry pi 3 for almost half a year, I finally installed OS on it. Though I have to say that the main reason for me to do it is because I felt terribly boring on the very first day of 2018. So in the following I am going to take a note of all the procedures I took to setup my Raspberry Pi 3.
Install OS
What we need?
- Raspberry Pi 3
- SD card (more than 16GB recommended)
- Screen
- Keyboard
- Ethernet cable
- Working router
- Power supply (5V recommended)
- Internet Connection!
Procedures
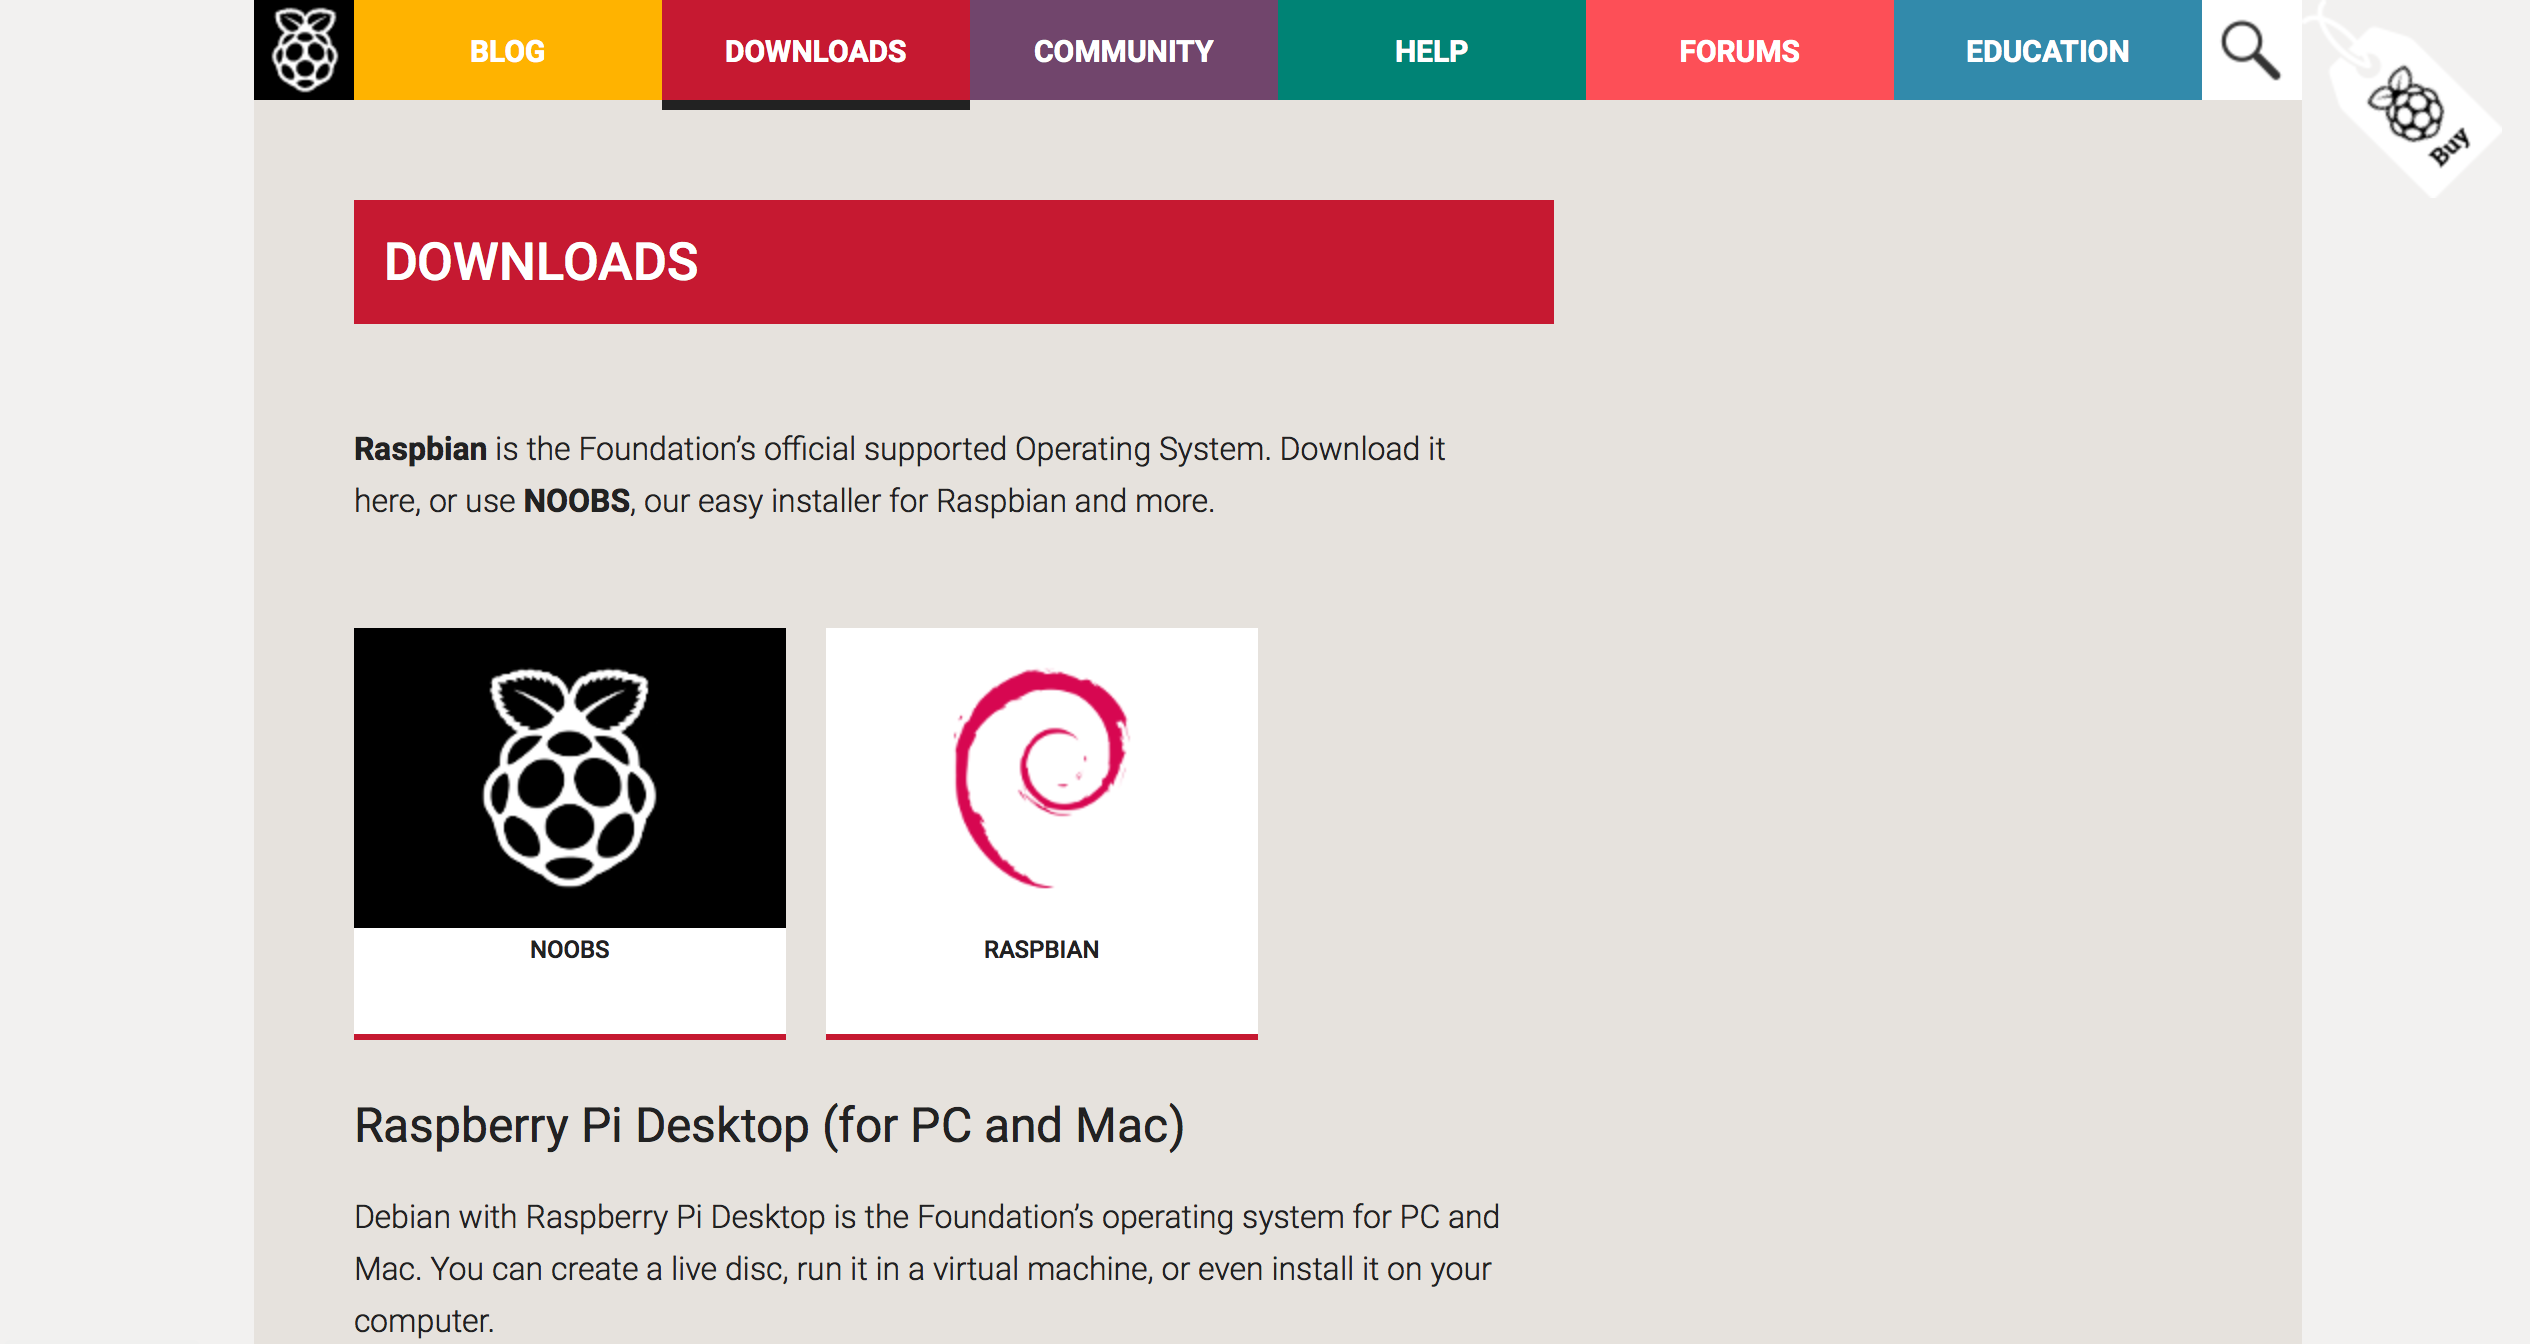
- Go to download page of raspberrypi.org
- Download NOOBS as
zipfile - Format our SD card
- Unzip
NOOBS_v_xxx.zipdirectly to the formatted SD card - Insert the SD card to Raspberry Pi 3 (there is an interface embedded in it)
- Connect Raspberry Pi 3 to a screen, a keyboard, an Ethernet cable that connect directly to our router, and most importantly, a compatible power supply
- Now we are all set and good to go! :)
- Switch on our Raspberry Pi 3 now and waiting for it to boot itself
- Follow the guidance from the GUI
- Done! :)
Connect to Wi-Fi
I feel pretty sorry when I put Ethernet cable on the list above. It took me like half an hour to find mine. Meanwhile, I found it really bothering having one more disturbing wire on top of my table which has already been messy enough.
So, let’s get rid of the wire and come to a wireless world!
Setting up Wi-Fi connection
- Open the terminal (keyboard shortcut
ctrl+alt+T) - Edit the network interfaces file (
$ sudo nano /etc/network/interfaces) - Replace whatever in the file to:
auto wlan0

allow-hotplug wlan0
iface wlan0 inet dhcp
wpa-conf /etc/wpa_supplicant/wpa_supplicant.conf
iface default inet dhcp
Note:
- This file
/etc/network/interfacescontains all known network interfaces.- The bottom four lines allows wlan as a network connection method, and use
/etc/wpa_supplicant/wpa_supplicant.confas our configuration file, which actually is also true without explicit configuration like this.
- Quit and save (
ctrl+X, thenY, thenenter)
Configuring Wi-Fi connection
We can do it in many different ways, like from GUI interface, or typing $ sudo raspi-config in the terminal. Here, I am taking note of what is actually happening in our OS.
- Open the
wpa_supplicant.conffile ($ sudo nano /etc/wpa_supplicant/wpa_supplicant.conf) - Add the information of your Wi-Fi:
network={
    ssid="YOUR_NETWORK_NAME"
    psk="YOUR_NETWORK_PASSWORD"
    proto=RSN
    key_mgmt=WPA-PSK
    pairwise=CCMP
    auth_alg=OPEN
}
Note:
- Basically what we need are
ssidandpsk- In case you are interested in the rest four settings, take a look at the ref[1]
- Quit and save (
ctrl+X, thenY, thenenter)
Now our Raspberry Pi should be all set. Reboot it and see if it works.
Conclusion
Now I have basically installed OS on my Raspberry Pi and got rid of the annoying Ethernet cable. I will keep calm and play with RPi. Cheers!