Intro
In order to play with fd.io - VPP, which is the open source version of Cisco’s Vector Packet Processing (VPP) technology, I decided to have a long-term Ubuntu system on my MacBook Pro.
Virtual Machine
- Download and install virtual-box
- Download a recent Ubuntu Desktop ISO (Version 16.04)
- Create a new VM with:
- 80GB disk space (Fixed-size VDI makes it faster)
- ≥4GB of memory
- 2 cores (VM Settings -> System -> Processor)
- Enable shared clipboard (install Guest Addition, then set from VM Settings -> General -> Advanced, see Reference [1] & [2])
- Make sure acceleration is enabled (VM Settings -> System -> acceleration)
- Enhance display capability (VM Settings -> Display -> Screen: assign enough Video Memory and Enable 3D Acceleration, see Reference [3])
- Install Ubuntu on the VM by selecting the Ubuntu ISO when start the VM (Choose Erase disk and install Ubuntu)
System
It is really time-consuming if we want a highly customized Ubuntu system. But it turns out that the whole procedure can be interesting and rewarding (to some extent :) ).
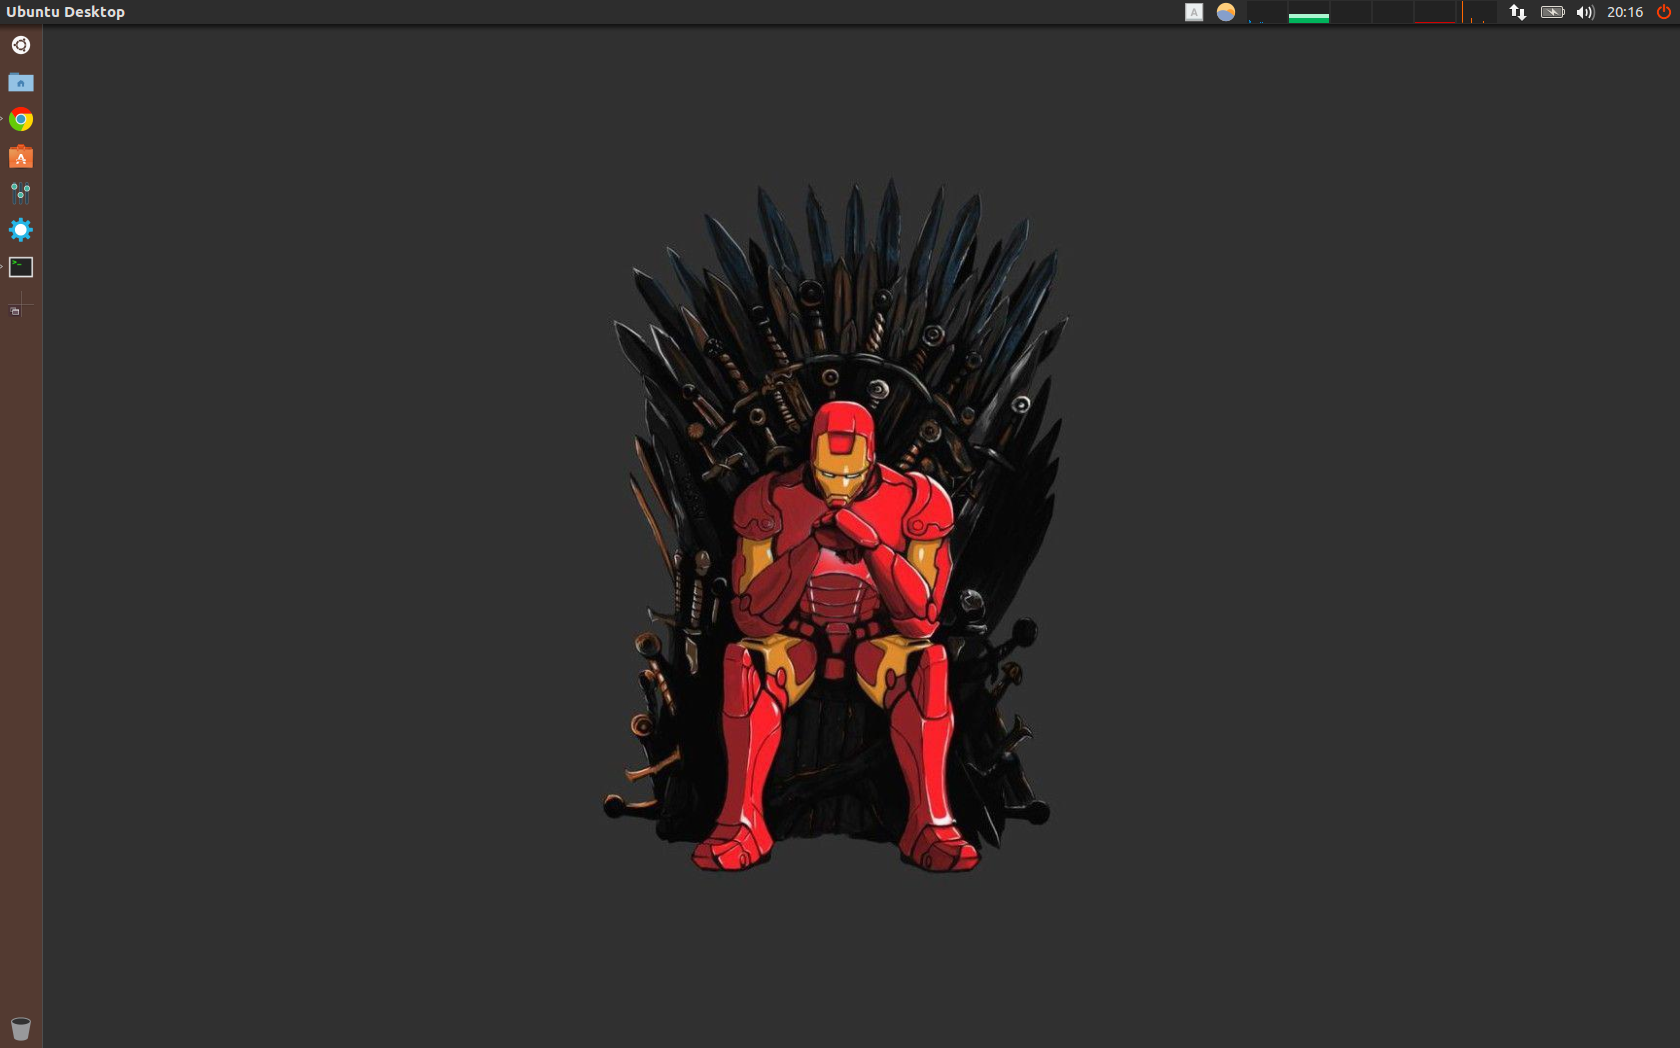
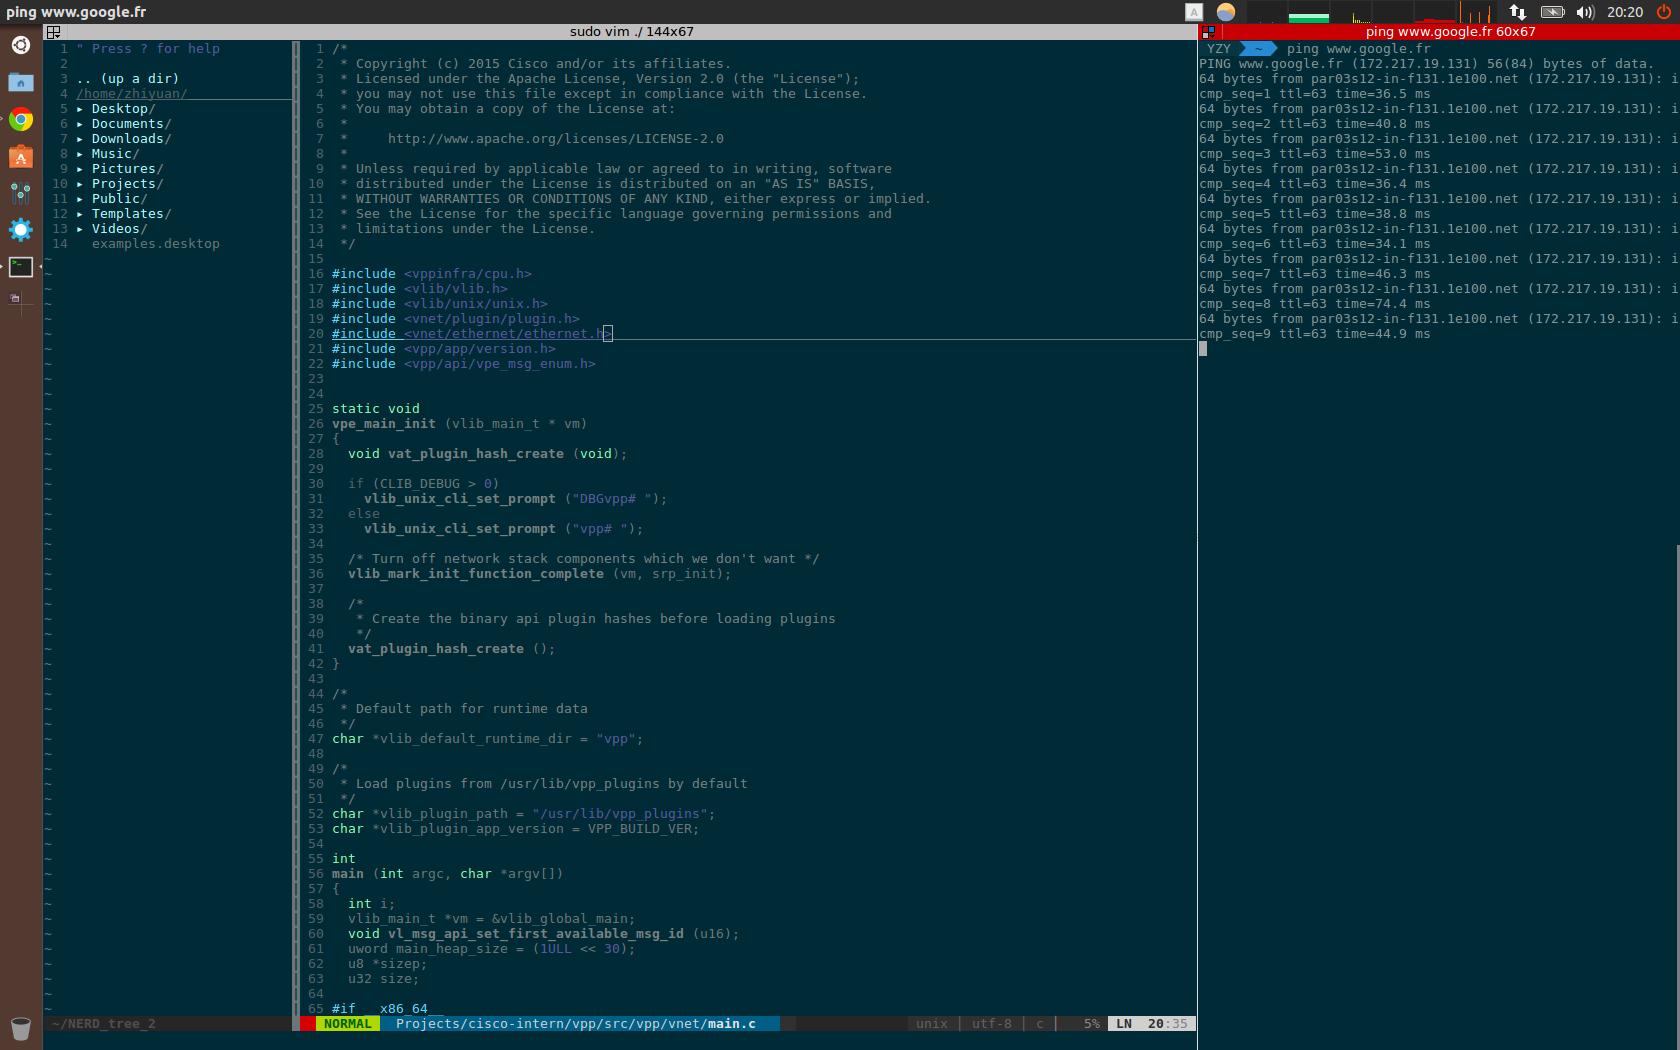
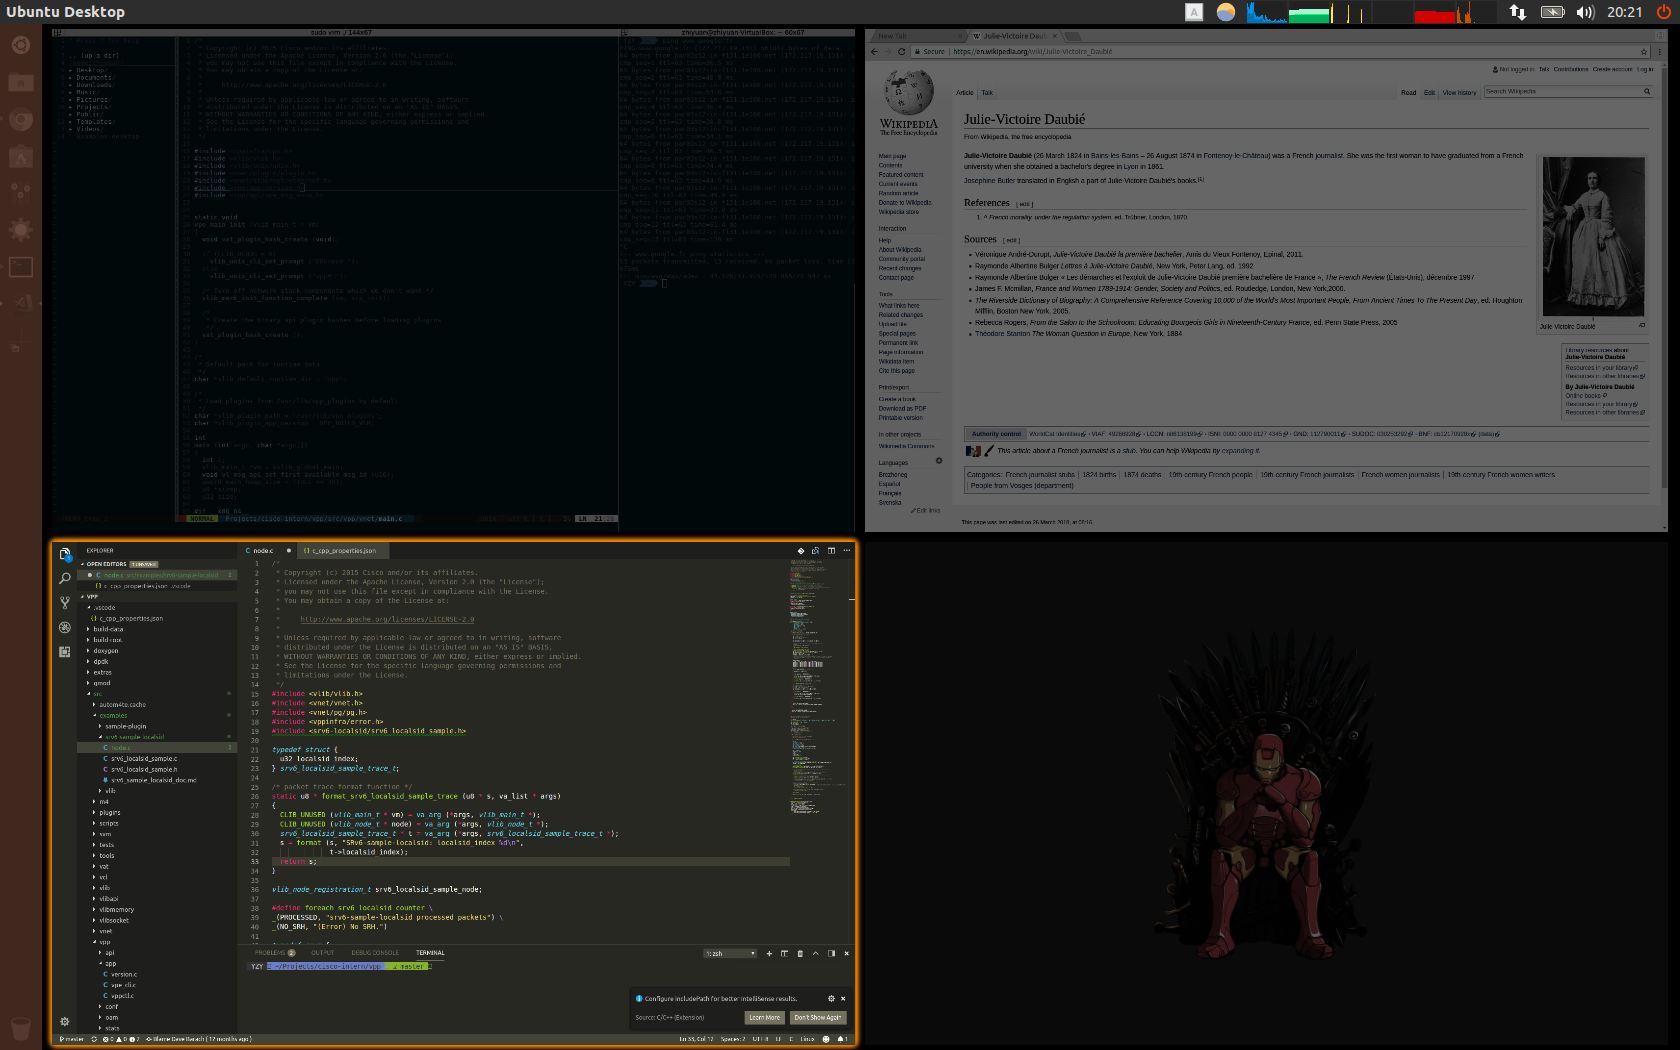
The results are shown below.


Cleanup & Update
# My own preference is to use Chrome instead of Firefox :)
dpkg --get-selections | grep firefox     # List all components of Firefox
sudo apt purge firefox firefox-locale-en unity-scope-firefoxbook

# Erase libreoffice since I don't need it in my VM
sudo apt purge libreoffice-common

# Remove Amazon
sudo apt purge unity-webapps-common

# Cleanup un-useful apps
sudo apt purge thunderbird totem rhythmbox empathy brasero simple-scan gnome-mahjongg aisleriot
sudo apt purge gnome-mines cheese transmission-common gnome-orca webbrowser-app gnome-sudoku
sudo apt purge onboard deja-dup

# Clear older version software cache
sudo apt autoclean
# Clear all software cache
sudo apt clean
# Remove isolated softwares which will not be used again
sudo apt autoremove

# Update
sudo apt update
sudo apt upgrade
Make it beautiful
# Unity Management Tool (GUI)
sudo apt install unity-tweak-tool
# Flatabulous Theme
sudo add-apt-repository ppa:noobslab/themes
sudo apt update
sudo apt install flatabulous-theme
# Flatabulous Theme icon
sudo add-apt-repository ppa:noobslab/icons
sudo apt update
sudo apt install ultra-flat-icons
# Ubuntu version Alfred
sudo add-apt-repository ppa:noobslab/macbuntu
sudo apt update
sudo apt install albert
With unity tweak tool, the theme, fonts, and icons can be configured to flatablulous and ultra-flat. Meanwhile, we can have several workspaces from Window Manager > Workspace Settings.
Software
Git
sudo apt install git
Wget
sudo apt install wget
Terminator (bash)
sudo add-apt-repository ppa:gnome-terminator
sudo apt update
sudo apt install terminator
Terminator should be setup as default now. Restart the terminal with shortcut: “Ctrl+Alt+T”
ZSH
sudo apt install zsh
chsh -s /bin/zsh
Exit and re-enter the bash
# Check current bash
echo $SHELL
Oh-My-ZSH
Installation
- Auto Installation
wget https://github.com/robbyrussell/oh-my-zsh/raw/master/tools/install.sh -O - | sh - Manual Installation
git clone git://github.com/robbyrussell/oh-my-zsh.git ~/.oh-my-zsh
cp ~/.oh-my-zsh/templates/zshrc.zsh-template ~/.zshrc
Theme Setup
Install powerline font
cd
wget https://github.com/powerline/powerline/raw/develop/font/PowerlineSymbols.otf
wget https://github.com/powerline/powerline/raw/develop/font/10-powerline-symbols.conf
mv PowerlineSymbols.otf ~/.fonts/
mkdir -p .config/fontconfig/conf.d #if directory doesn't exists
Clean fonts cache
fc-cache -vf ~/.fonts
Move config file
mv 10-powerline-symbols.conf ~/.config/fontconfig/conf.d
Change theme colors to solarize
dconf is required if you don’t already have it.
sudo apt-get install dconf-cli
git clone git://github.com/sigurdga/gnome-terminal-colors-solarized.git ~/.solarized
cd ~/.solarized
./install.sh
- I recommend you option 1 (dark theme) which is just great.
- Choose option 1 to download seebi’ dircolors-solarized
After installation, open .zshrc and add the line:
eval `dircolors ~/.dir_colors/dircolors`
To activate dark solarize theme in Terminator just right click on the terminal,
Preferences>Profiles>Colors>Foreground and Background>Built-in schemes: Solarized dark Preferences>Profiles>Colors>Palette>Built-in schemes: Solarized
Restart Terminator and you’re done!
Configuration
My configuration files looks like this:
...
ZSH_THEME="agnoster"
...
plugins=(
    git zsh-autosuggestions autojump ubuntu
)
source $ZSH/oh-my-zsh.sh
...

$DEFAULT_USER=$USER

...
alias vim='sudo vim'
alias zshconfig="vim ~/.zshrc"
alias ohmyzsh="vim ~/.oh-my-zsh"
alias javac="javac -J-Dfile.encoding=utf8"
alias grep="grep --color=auto"
alias -s html=vi
alias -s rb=vi
alias -s js=vi
alias -s c=vi
alias -s java=vi
alias -s txt=vi
alias cls='clear'
alias ll='ls -al'
alias la='ls -a'
alias top10='print -l  ${(o)history%% *} | uniq -c | sort -nr | head -n 10'
alias clpcache='sync; echo 1 > /proc/sys/vm/drop_caches'
alias cldcache='sync; echo 2 > /proc/sys/vm/drop_caches'
alias clallcache='sync; echo 3 > /proc/sys/vm/drop_caches'
...
# Autojump
[[ -s ~/.autojump/etc/profile.d/autojump.zsh ]] && . ~/.autojump/etc/profile.d/autojump.zsh
autoload -U compinit && compinit -u
...
eval `dircolors ~/.dir_colors/dircolors`
Remember to install the plugin autojump with:
git clone https://github.com/joelthelion/autojump.git
cd autojump
./install.py
cd ../
rm -rf autojump
and then add the following lines into
~/.zshrc
[[ -s ~/.autojump/etc/profile.d/autojump.zsh ]] && . ~/.autojump/etc/profile.d/autojump.zsh
autoload -U compinit && compinit -u
Reload
ZSHand it’s good to go withj + $PATH
Vim
sudo apt install vim
Sophisticated setup can be found in Reference [8]. I won’t dive deep into the details. It seems pretty nice in the end, but… the whole procedure was just way too complicated. Finally, I decided to go with VSCode as my IDE.
Good luck configuring! :)
To follow the Reference [8], we need to install some prerequisites
- python-devel
- python3-devel
- ruby-devel
- lua-devel
- libX11-devel
- gtk-devel
- gtk2-devel
- gtk3-devel
- ncurses-devel
apt install libpython2.7-dev
apt install libpython3.5-dev
apt install ruby-dev
apt install liblua5.2-dev
apt install libx11-dev
apt install libgtk2.0-dev
apt install libgtk3.0-dev
apt install libncursers-dev
TMux
sudo apt install tmux
F.Lux
sudo add-apt-repository ppa:nathan-renniewaldock/flux
sudo apt-get update
sudo apt-get install fluxgui
System Load Indicator
sudo add-apt-repository ppa:indicator-multiload/stable-daily
sudo apt update
sudo apt install indicator-multiload
SunPinYin
apt install ibus-sunpinyin
ibus restart
Add sunpinyin in the Text Entry.
Chrome
- Add Key:
wget -q -O - https://dl-ssl.google.com/linux/linux_signing_key.pub | sudo apt-key add - - Set repository:
echo 'deb [arch=amd64] http://dl.google.com/linux/chrome/deb/ stable main' | sudo tee /etc/apt/sources.list.d/google-chrome.list - Install package:
sudo apt-get update
sudo apt-get install google-chrome-stable
Visual Studio Code
Download from: https://code.visualstudio.com/download
- Extensions:
- C/C++
- C/C++ Clang Command Adapter
- C++ Intellisense
- Git Blame
- Git History
- markdownlint
VPP
Since I need to have fun with VPP, I just put the simplified instructions to install VPP here.
cd $PATH_YOU_WANT_TO_HAVE_VPP
git clone https://git.fd.io/vpp
cd vpp
# It'll take a little while to install all the dependencies
make install-dep
# It'll take a little more while to build the whole program
make build
# It should take you to the interactive terminal of VPP :)
make run
For more details about how to pull, build, and run vpp, check this wiki.
SSH Access
To get access to the VM headlessly, we can try to allocate fewer resources to the VM, since we don’t need visualization and stuffs like that. My configuration switched to the following:
- 40GB disk space (Fixed-size VDI makes it faster)
- 4GB of memory
- 1 core (VM Settings -> System -> Processor)
- Disable display acceleration
To get access to the VM via SSH, we have to setup the host-guest port forwarding rules (VM Settings -> Network -> Adapter 1 -> Advanced -> Port Forwarding).
- Name:
ssh - Protocol:
TCP - Host Port:
9999 - Guest Port:
22
With all this set. Reboot the system with sudo poweroff and headless start. Then open zsh terminal and start ssh communication with
ssh -p 9999 yzy@localhost
where yzy is the name of my account on VM.
Reference
- [1] - How do I enable the shared clipboard in VirtualBox?
- [2] - How to copy & paste from Ubuntu VirtualBox guest to Windows host?
- [3] - VirtualBox虚拟机运行Ubuntu如何不卡
- [4] - Ubuntu 16.04 + Terminator + Oh My ZSH with Agnoster Theme
- [5] - Ubuntu 调优与美化教程
- [6] - Ubuntu 安装zsh配置 oh my zsh autojump apt-get 使用
- [7] - 强大的zsh配置文件
- [8] - 所需即所获:像 IDE 一样使用 vim
- [9] - 打造Python开发工具——vim+zsh+tmux
- [10] - What is VPP?
- [11] - 你的Ubuntu还可以这么美
- [12] - VPP/Pulling, Building, Running, Hacking and Pushing VPP Code